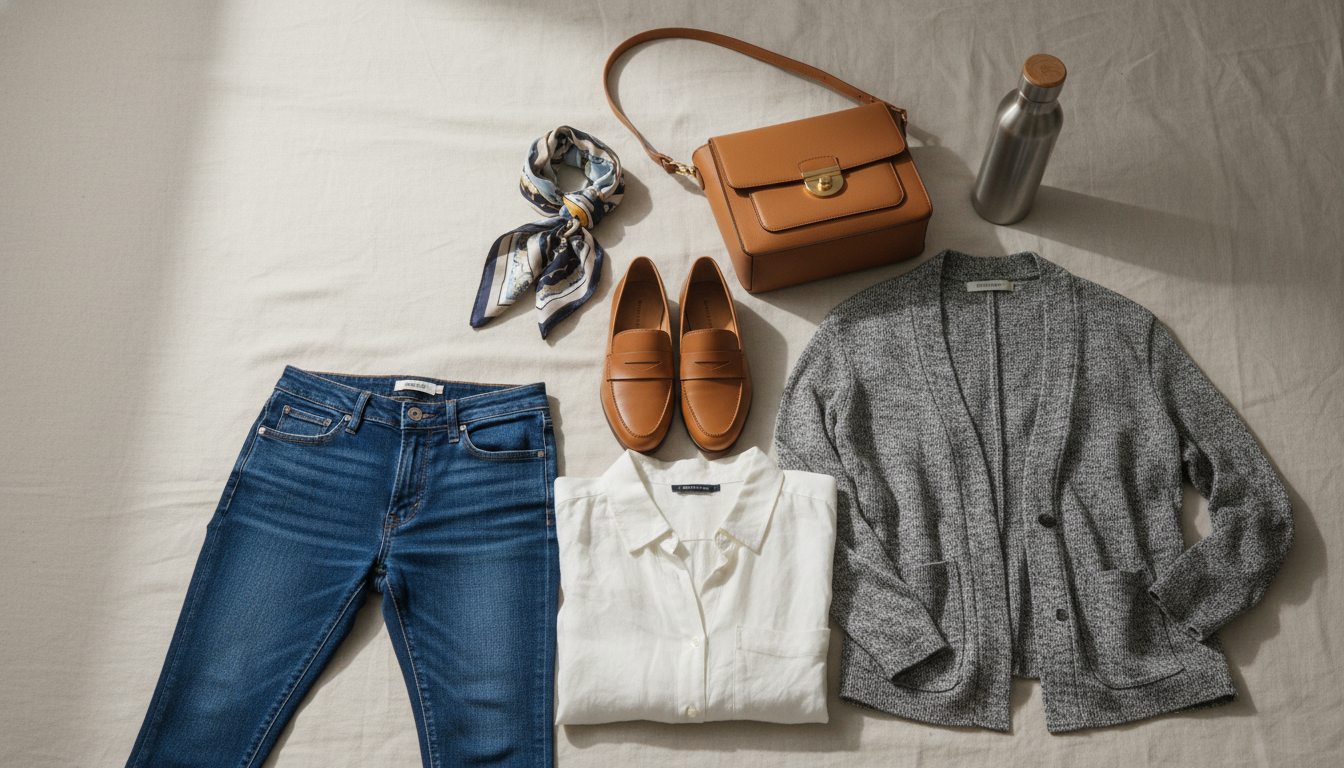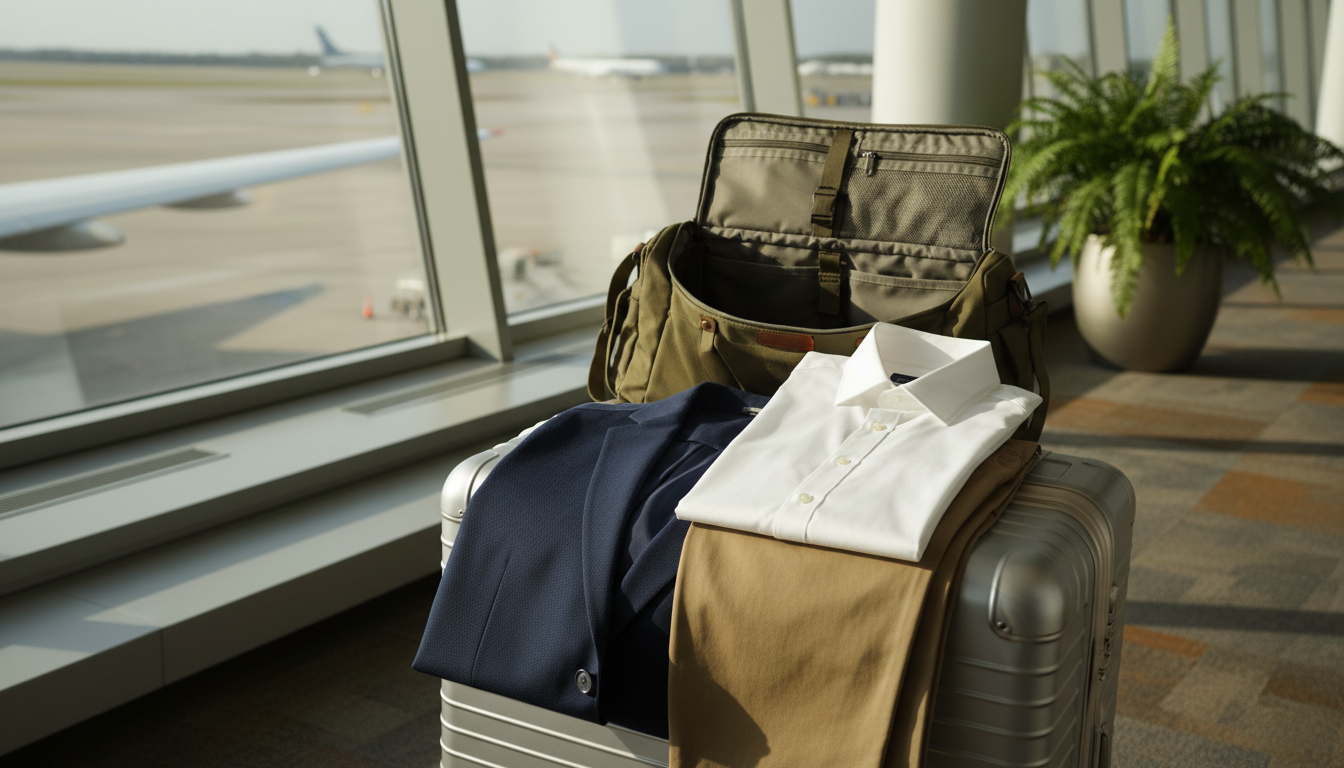

Ever packed for a trip and ended up either shivering or sweating because the forecast was all over the place? I’ve been there so many times.
I used to stare at my closet, completely overwhelmed. Mornings were freezing, afternoons were hot, and evenings brought a chill again. My suitcase was either bursting or I was miserable.
Here’s the good news. Mastering this isn’t complicated or expensive. It’s about a simple, flexible system. You put items on when you’re cold. You take them off when you’re warm.
This approach saves so much time and stress. It’s not about wearing your entire closet. It’s about choosing the right pieces in the right order. I’ll walk you through the basic three-part system, the best fabrics, and real examples you can use.
Let’s make getting dressed a confident choice, not a daily gamble.
Key Takeaways
- Layering is a simple system for staying comfortable all day.
- It saves time getting dressed and reduces packing stress.
- The right fabric choices make a huge difference in comfort.
- You can adapt this method to any activity, from commuting to hiking.
- It builds confidence for facing unpredictable temperature swings.
- You don’t need to buy a lot of new clothing to start.
- This practical skill works for daily life and all your adventures.
Understanding Travel Layering Basics
I remember feeling confused about what to wear when temperatures shifted throughout the day. The solution is a simple three-part system. Each piece has a specific job.
What Are Base, Mid, and Outer Layers?
Your base layer touches your skin. Its main job is keeping you dry. I learned this on a hike wearing cotton—being damp means being cold.
The mid layer is your warmth headquarters. This is where you trap your body heat. Think of a lightweight fleece or a puffer jacket for insulation.
Your outer layer is the shield. It protects that precious warmth from wind and rain. Sometimes it’s called a shell.
| Layer | Main Job | Common Example |
|---|---|---|
| Base | Wicks moisture, keeps skin dry | Merino wool or synthetic top |
| Mid | Traps body heat for insulation | Fleece jacket or down vest |
| Outer | Blocks wind, rain, and snow | Waterproof, breathable shell |
When to Add or Remove Layers
Add a layer when you’re standing still or the wind picks up. Your base might be enough, then you add your mid for extra heat.
Remove layers when you start moving. Do this before you start sweating. The sun coming out is another cue to peel something off.
You won’t wear all three at once every time. Sometimes you start with everything on. Other times, you add as you go. Pay attention to how you feel—it becomes second nature.
How to Layer for Changing Travel Weather
The best way to understand this system is to see it in action with scenarios you probably face. Let’s move from theory to your actual day.
Real-Life Examples for Daily Commute and Hiking
I rely on a few go-to combinations. They build in options for shifting conditions.
- Cool Morning Commute (45-55°F): A long-sleeve henley, a quarter-zip sweater, and a shirt jacket. I start with all three. By mid-morning, the jacket comes off.
- Unpredictable Weekend (50-65°F): A crewneck tee with an unbuttoned flannel over it. I keep a lightweight jacket in my bag just in case.
- Summer Mountain Hiking: A lightweight merino base, a mid-weight fleece, and a packable rain shell. This setup handles sun, sweat, and sudden showers.
Adjusting Layers Based on Activity Levels
Your movement matters as much as the mercury. If you’re walking briskly or carrying a pack, you’ll generate heat. You need fewer layers than when standing still.
My rule? Start your day feeling slightly cool. Once you move, you’ll warm up fast. It’s easier to add a piece than to carry a sweaty one.
This approach makes getting dressed simple. Your outfit looks good at every stage, from first layer to last.
Choosing the Right Materials and Fabrics
Fabric choices used to completely overwhelm me, but I’ve learned it’s simpler than it seems. The right materials keep you comfortable without bulk.
Best Fabrics for Base Layers and Insulation
I’m a huge fan of merino wool for your base. It feels soft against your skin. It manages moisture brilliantly, keeping you dry and comfortable.
Avoid cotton here. It holds dampness and can make you cold. For insulation, fleece is my go-to. It’s warm, breathes well, and dries fast.
Fabric weight matters. Lightweight options around 160 gsm work for most days. Mid-weight is perfect for cooler conditions.
| Layer Type | Best Fabric | Why It Works | What to Avoid |
|---|---|---|---|
| Base | Merino Wool | Wicks moisture, regulates temperature | Cotton (holds moisture) |
| Mid (Insulation) | Fleece | Warm when damp, breathable | Bulky, non-breathable synthetics |
| Outer (Shell) | Breathable Membrane | Blocks wind/rain, lets vapor out | Stiff, plastic-like materials |
Selecting Durable, Breathable Options for Outer Layers
Your outer piece needs to block wind and rain. But it shouldn’t feel like a plastic bag. Breathability is key.
Look for fabrics that mention a membrane like Gore-Tex. They protect you but let heat escape. The material should have some give when you move.
Avoid anything too stiff or bulky. A good shell drapes well and sits flat. It completes your system without adding weight.
Tips for Managing Temperature and Comfort
The real magic of this system happens in the transitions. It’s those moments when you move from a chilly bus stop into a warm cafe.
Practical Steps to Transition Layers Effectively
My biggest lesson? Start your day feeling slightly cool. If you’re perfectly warm standing still, you’ll overheat fast. Your body generates plenty of heat once you move.
Act before you sweat. The moment you feel too warm, shed a layer. Once you’re damp, you’ll get cold later. It’s a miserable cycle.
Fit is crucial here. I used to get it all wrong. Follow this simple formula:
- A slim base layer against your skin.
- A regular-fit mid layer for warmth.
- A relaxed outer shell for protection.
If everything is the same tightness, it bunches up and pulls. This hierarchy lets everything move smoothly.
Choose smart pieces. Your mid layer is the one you’ll take on and off the most. Pick something that looks good alone. A quarter-zip sweater is my favorite—you can vent a little heat without removing the entire piece.
Listen to your own body. Everyone runs at a different temperature. Your comfort is the only rule that matters.
Layering for Different Conditions and Environments
Your outer shell becomes your best friend when the sky opens up or a stiff breeze kicks in. The basic system stays the same, but your choices shift with the season and the forecast.
Strategies for Summer, Fall, and Spring Adventures
Fall is my personal puzzle. A cool morning demands a mid-weight base top and a fleece jacket. By afternoon, I’m often down to just the base layer.
Spring brings its own tricks, mainly sudden rain. I never leave without a packable rain jacket stuffed in my bag. It’s a simple safety net.
Even summer needs thought. A lightweight, long-sleeve shirt protects from the sun during a hike. When the evening chill arrives, that same shirt becomes a vital layer.
Adapting Your Layers for Rain, Wind, and Sun
Your outer layer strategy depends on the day. A simple wind jacket works for dry, breezy conditions. For real rain, a waterproof shell is essential.
Look for features like an adjustable hood and snug cuffs when dealing with both rain and wind. This combo is tough, but the right gear helps.
Remember, you don’t need a whole new wardrobe. Often, it’s about swapping a base layer weight or choosing the right shell. For more ideas on navigating tricky forecasts, check out these outfits for in-between season days.
Layering Myths and Common Mistakes
Nothing ruins a day faster than a layered outfit that feels bulky and restrictive. I’ve carried an armful of sweaters on a hike, overheating and looking silly. Let’s clear up some common confusions.
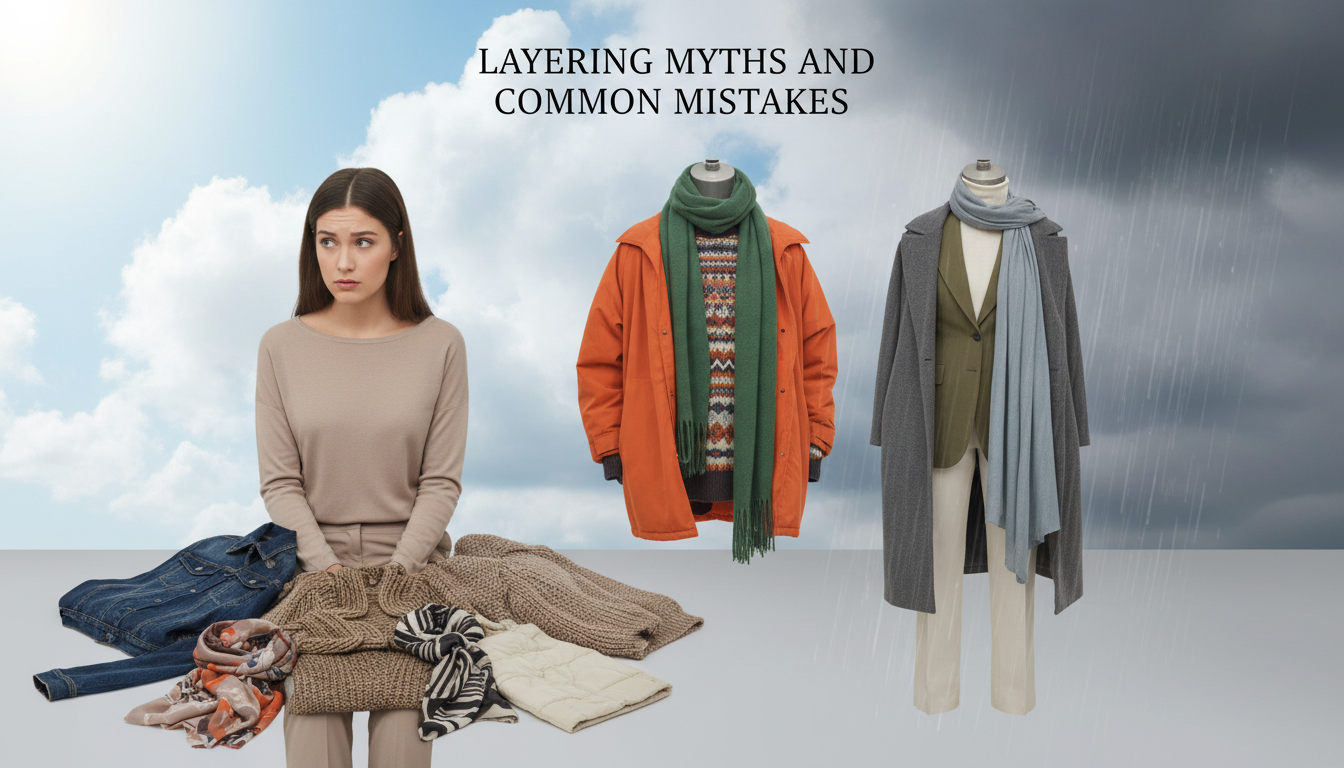
A big myth is that more layers automatically mean more warmth. It’s not about piling on everything you own. True comfort comes from the right combination, not maximum bulk.
Avoiding Over-Bulking and Fit Issues
To avoid the puffy look, start thinner than you think. You can always add a piece later. Fit is the secret. Each one should be slightly roomier than the last.
Think: slim base, regular mid, relaxed outer. If everything is the same tightness, it bunches up. Don’t buy a bigger size for your shell jackets. Get each cut for its job.
Your mid layer, like a fleece, should look good on its own. Mixing pieces from different brands is a smart option. A successful system looks intentional at every stage.
Conclusion
Looking back, I realize the biggest shift wasn’t in my closet, but in my confidence. This system works because it’s flexible. You build in options for your comfort all day, no matter what the weather decides.
Remember the basics. Start with a good base layer to wick moisture from your skin. Add a mid piece, like a fleece jacket, for warmth and insulation. Top it with a shell to block rain and wind.
You likely own pieces that work. Start simple. Skip cotton next to your skin. Consider merino wool or a synthetic tee. A versatile fleece and one good rain jacket are smart investments.
I used to freeze in the morning and sweat by afternoon. Not anymore. This approach changed my daily experience and travel ease.
Give it a try. Pay attention to what works for your body. Your comfort is the goal. There’s no single right way, just your way.